Let’s be real…. test prep. is often boring and something that our students dread! A couple years back, I decided that I no longer wanted to have my students dread test prep and wanted to find a way for them to be engaged, while still preparing for the test. So, I started using test prep. centers and giving my students choice! Keep reading to hear how I used centers I had and some new ones to engage my students during test prep. season.
I didn’t want to have to buy all new centers and at the same time, I wanted something that was new and engaging, too. So, I did a little bit of both. First, I looked through different activities we used that year that my students love and were helpful to helping them learn a skill. Many of these activities were word problem activities since I knew that was the main focus for the end of the year test. Then, I put these activities together (check out the tips below on how I easy it can be to do this). Next, I went and found a couple new word problem centers/ activities that I could add. Last, I placed these activities in our classroom and let my students choose different activities to practice.

You may be thinking… that sounds almost too simple! It is actually and I am going to share 5 tips below that will make it simple for you to put together and implement test prep. centers in your classroom, too.
Tip #1: Make a list of topics and standards that you know will be important for your students to review during test prep. time. This list then made it easy for me to see what activities I already had and if I needed to find any new activities for that topic and standard. Your state may even have a list of the standards that show up most on your state test. After I create this list, I look for standards that I need more activities for, or my students may need extra practice.
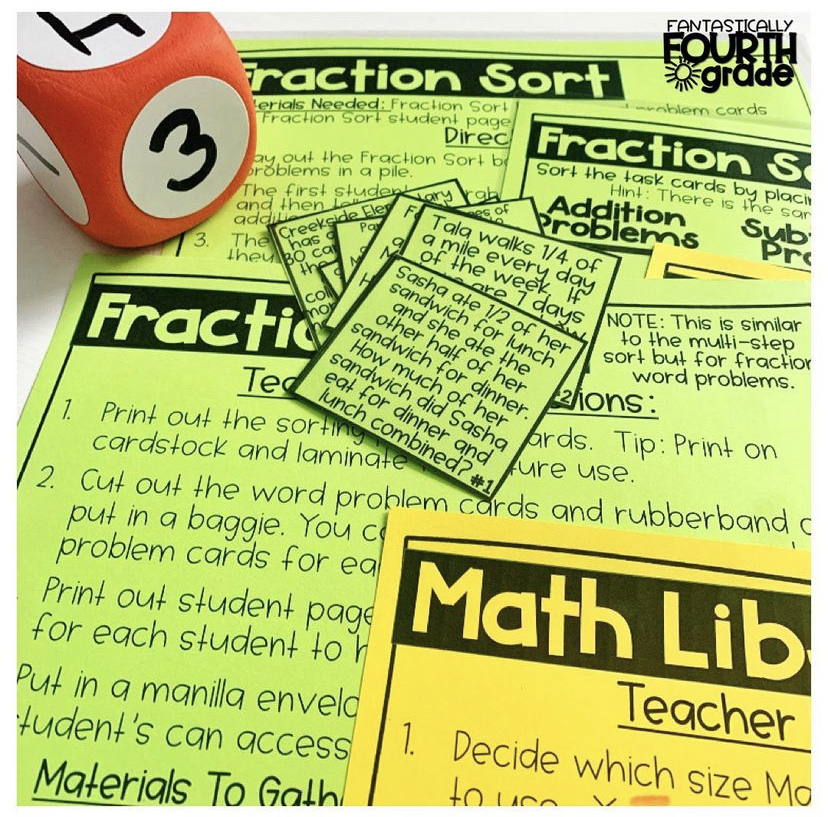
Tip #2: Use Manilla Envelopes to put each activity and all the materials that go with it. I write the name of the activity, standard and if it is an independent or partner activity on the outside of the envelope. Check out the picture above to see how I label my envelopes. This makes it SO easy to keep centers organized and even use them year after year. TIP: Include a page with directions for each center in the envelope, too.
Tip #3: Give your students some choice, while still making sure students are working on skills or standards they need additional practice. I would normally let students choose a couple centers each day and tell them a couple I wanted them to do. For example: If we are doing 3 test prep. centers that day, I may let students choose 2 and then, tell them 1 center that I want them to complete. The center I chose sometimes was the same for all students, and sometimes was different based on what I knew students needed to work on.
Tip #4: Keep the centers out during test prep. season for early finisher or morning work activities. Since these centers are kept in envelopes with directions, it is easy to use them for more than just center time. I would give them as a morning choice option and as our early finisher activity during test prep. season to get in that extra practice!
Tip #5: Hype up these centers to your students! The more excited you are about these centers, the more excited your students will be. I make a big deal about some of their favorite centers from the year coming back and I slowly reveal some of our new centers to get students excited about them.

Would you like some new minimal-prep end of the year centers that are already prepared for you? I have created a bundle of End of the Year Review Centers, that are ready for you to print and use! Each center comes with teacher setup directions, student directions to put with the center and any additional materials you will need. This is a great way to bring some new centers and practice into your test prep. time! Currently, I have a bundle for 3rd and 4th grade students. 5th grade teachers, I am working on a bundle for you, too. Click here to be added to the waiting list and be the first to know when these are released.


